Configuring Amplify
This workshop proposes to use AWS Amplify, an open-source library to create and integrate with a cloud-based backend. AWS Amplify comprises two components: a command line tool to easily provision cloud-based services from your laptop and a library to access these services from your application code. You installed the CLI as part of the prerequisites instructions. For this workshop we will use the new Amplify Library for Swift. This new version is entirely built in Swift and support modern Swift constructs, such as async / await patterns for concurrent code.
Add Amplify to your application
Amplify for iOS is distribued with Swift Package Manager (SPM) or Cocoapods. In this workshop, we will use SPM to add the required Amplify packages to your project in Xcode.
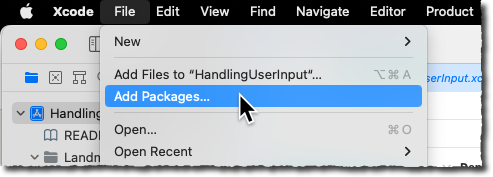
In Xcode, select File, Add Packages…
In the top right search bar, type https://github.com/aws-amplify/amplify-swift. For Dependency Rules, select Up to Next Major Version and type 2.0.0 as version. Then, select Add Package button on the bottom right.
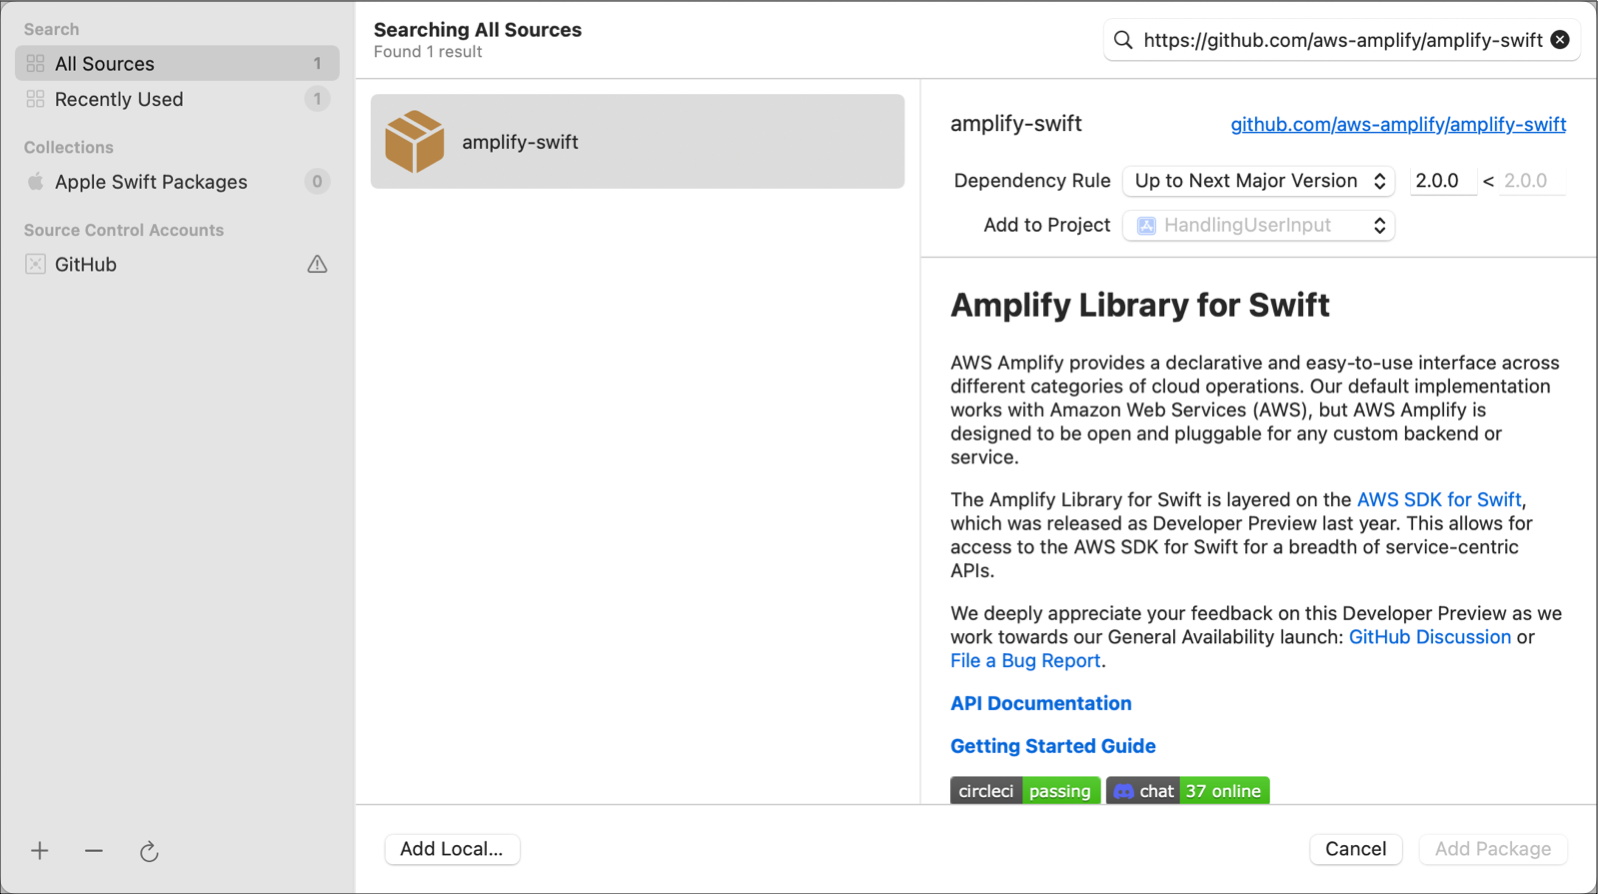
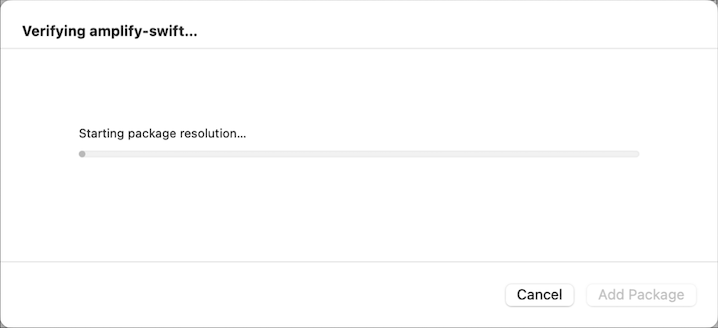
Depending on the internet bandwidth and the model of your laptop, it might take a few minutes to download and verify Amplify and its dependencies.
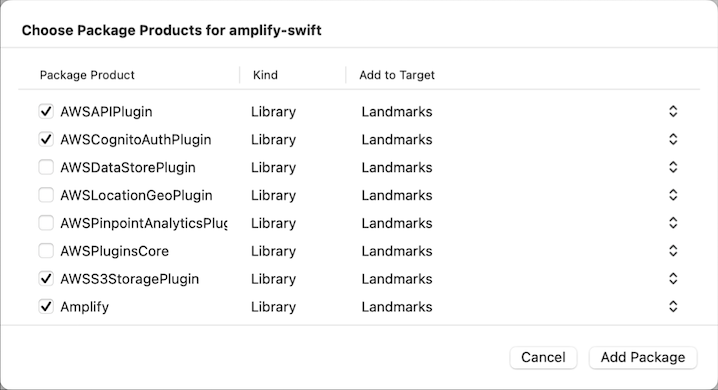
Select the four linked libraries containing the Amplify code we will use for this project:
Amplify: the core libraryAWSAPIPlugin: the library to access GraphQL APIsAWSCognitoAuthPlugin: the library to include user authentificationAWSS3StoragePlugin: the library to access images or files stored on S3.
Once these four libraries are select, select Add Package.
Initialize Amplify
The first time you use AWS Amplify in a project, Amplify needs to initialise your project directory and the cloud environment. We assume $PROJECT_DIRECTORY is set and unchanged from previous step.
In a Terminal, type the following commands:
cd $PROJECT_DIRECTORY
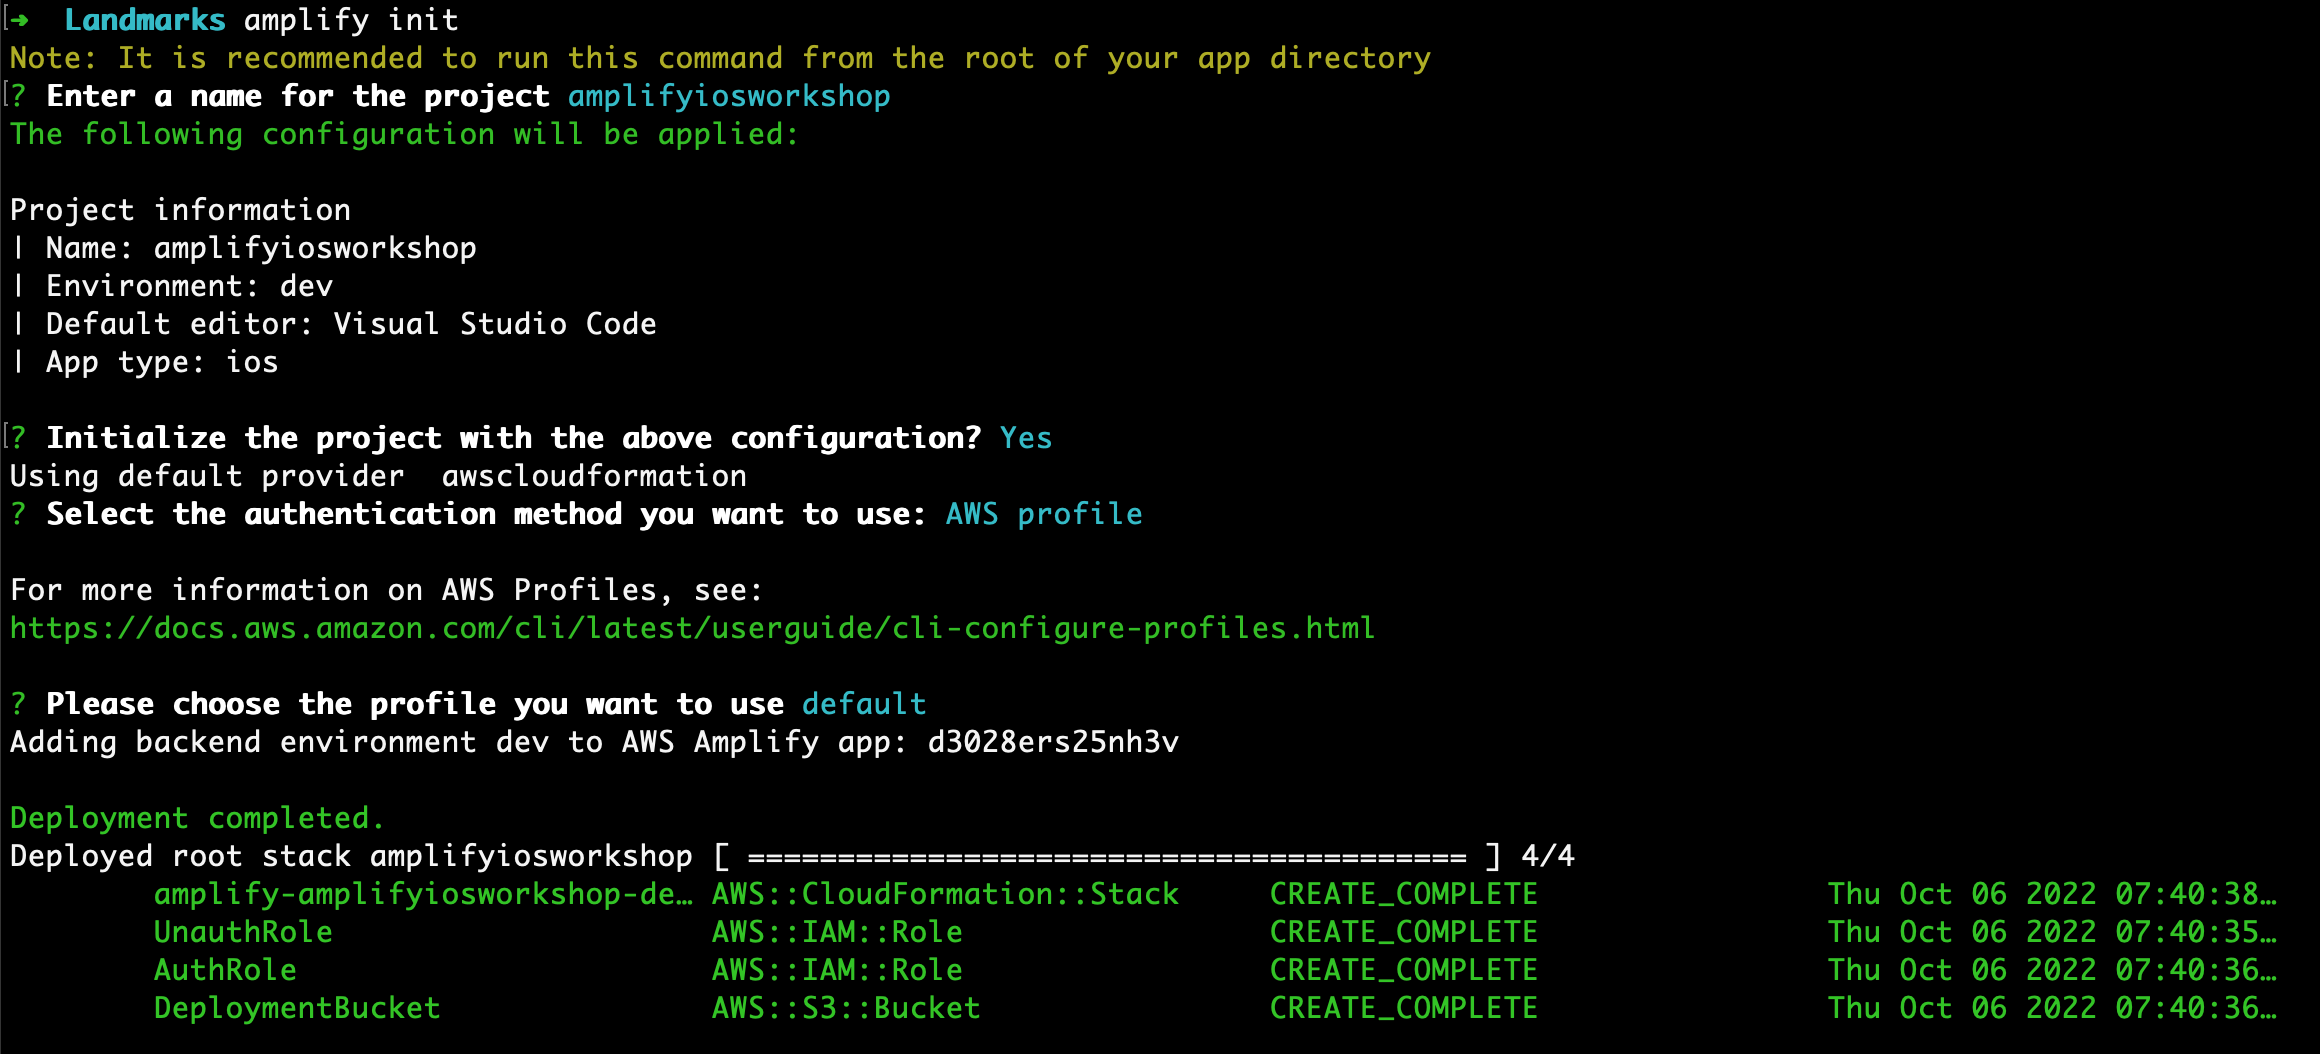
amplify init
-
Enter a name for your project: enter amplifyiosworkshop and press enter.
-
Accept all the default values. Accept the default Yes and press enter.
-
Select the authentication method you want to use? accept the default AWS Profile and press enter.
-
Please choose the profile you want to use: accept the default default or type the name of the profile you created during step 1.3 (such as workshop) and press enter.
- Help improve Amplify CLI by sharing non sensitive configurations on failures. I choose to accept toshare information with the Amplify team. Type Y to continue.
Amplify will create a local directory structure to host your project’s meta-data. In addition, it will create the backend resources to host your project : two IAM roles, an S3 bucket and a AWS Cloudformation template. After 1 or 2 minutes, you should see the below messages:
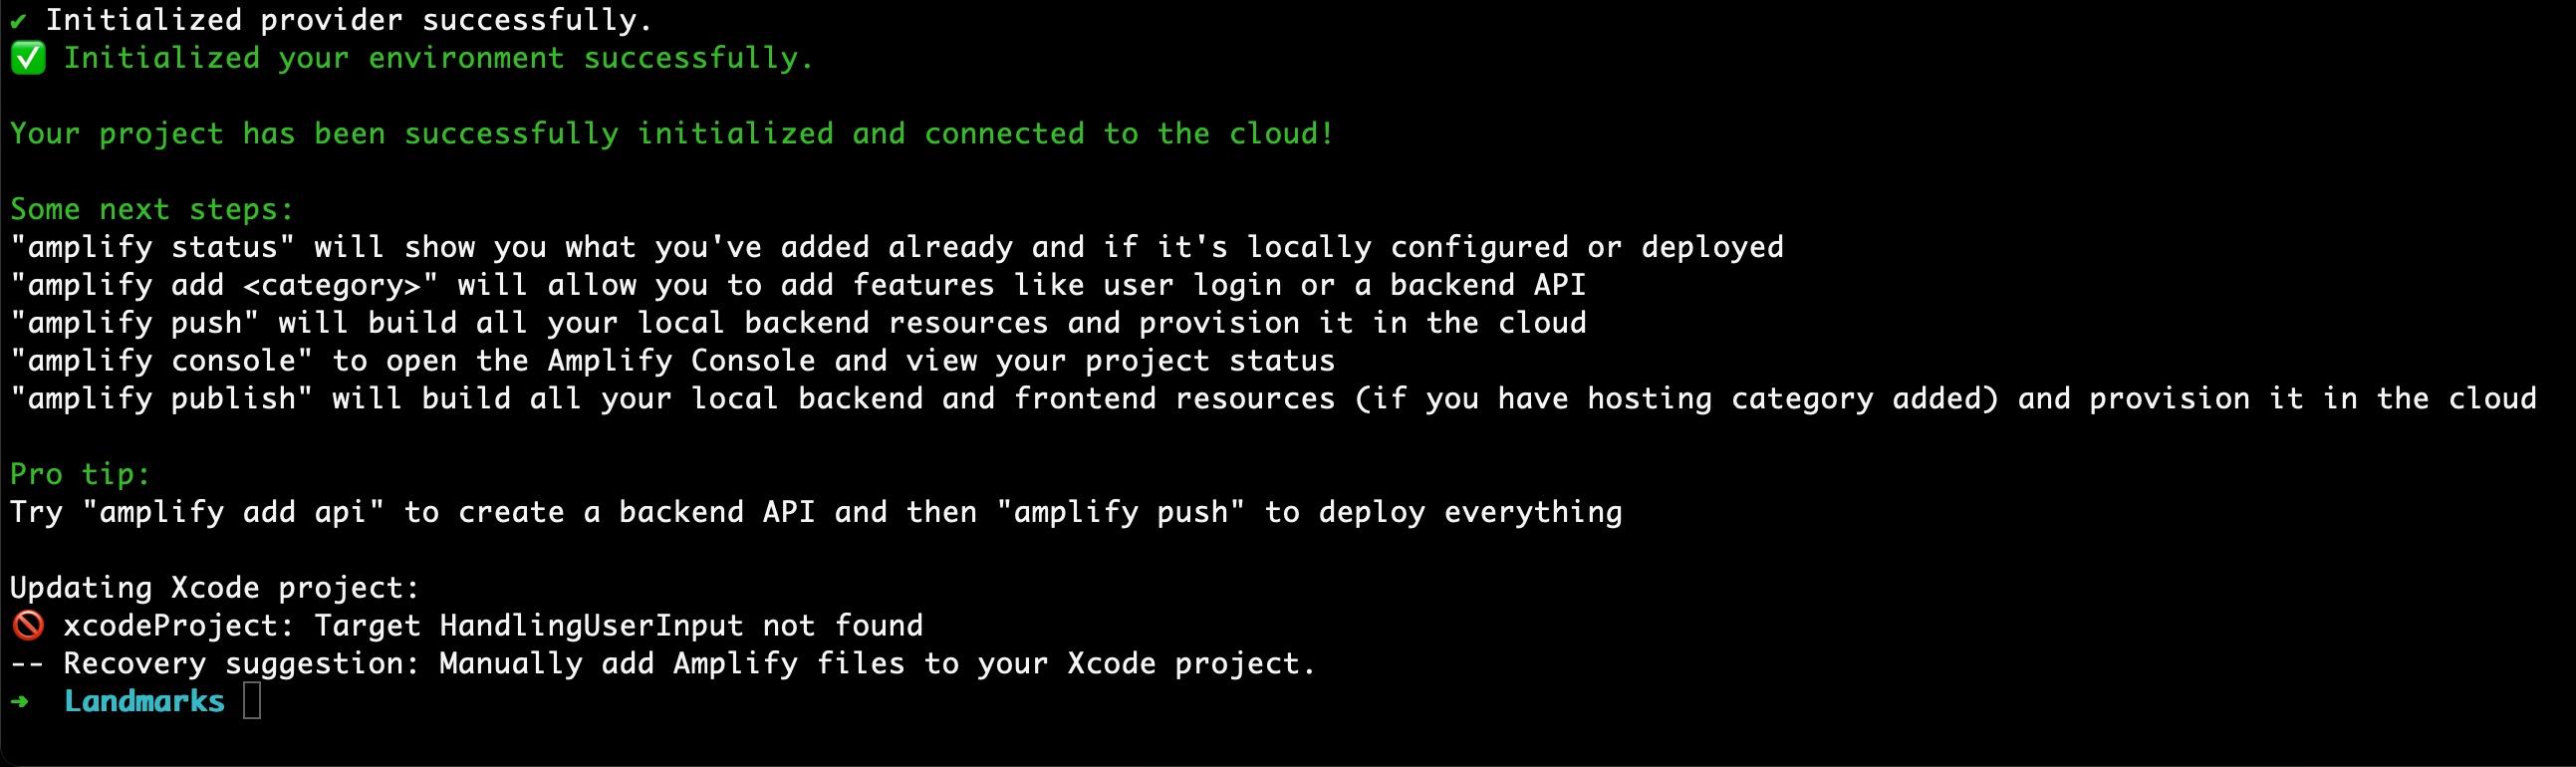
You might safely ignore the Xcode error message. We will manually add libraries to the source code of the project.
Add Amplify configuration files to the project
Rather than configuring each service through a constructor or constants file, the Amplify and the underlying AWS SDKs for iOS support configuration through centralized files called awsconfiguration.json and amplifyconfiguration.json. They defines all the regions and service endpoints to communicate. Whenever you run amplify push, these files are automatically created allowing you to focus on your Swift application code. On iOS projects the awsconfiguration.json and amplifyconfiguration.json are located at the root project directory. You have to add them manually to your Xcode project.
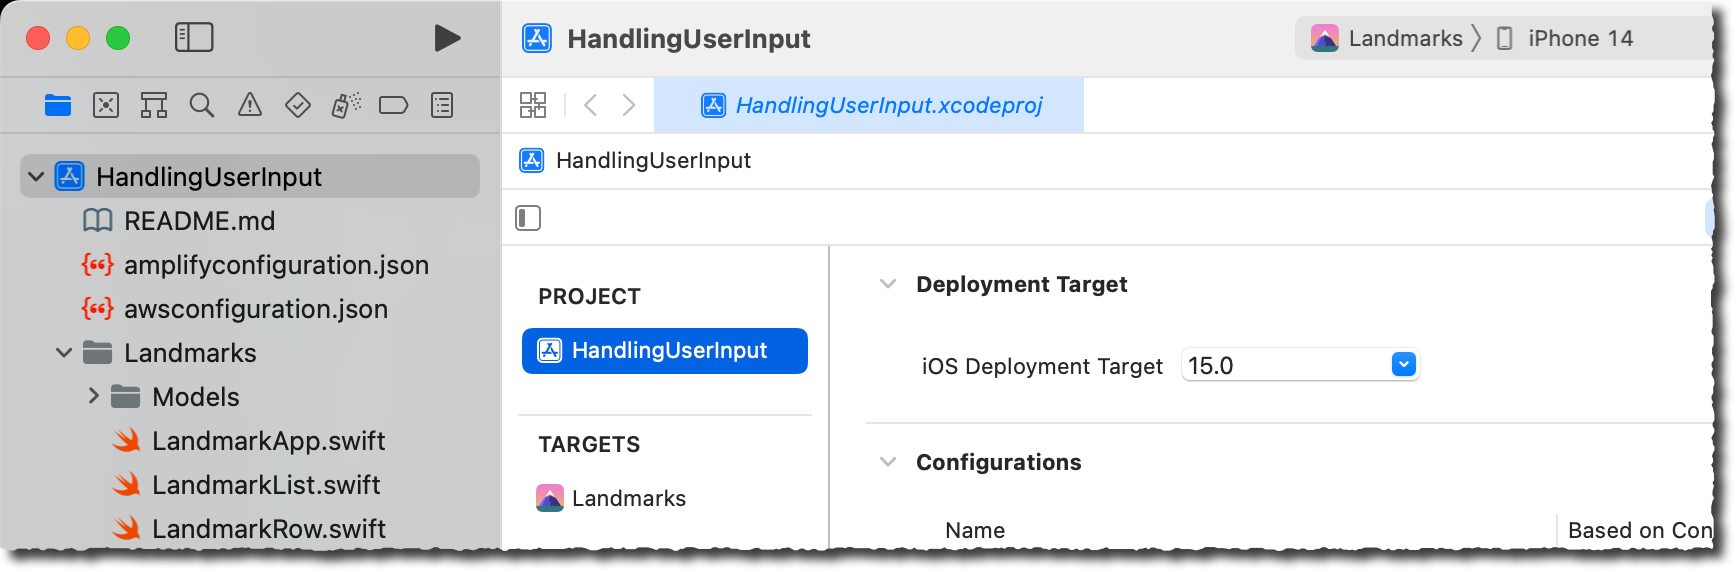
In the Finder, select awsconfiguration.json and amplifyconfiguration.json and drag the two files into Xcode under the top Project Navigator folder (the folder named HandleUserInput). When the Options dialog box appears, do the following:
- Clear the Copy items if needed check box.
- Choose Create groups
- Select Add to target: Landmarks, and then choose Finish.
Before proceeding to the next step, ensure you have both files added to your project, like one the screenshot below.
Build the project
Now that we’ve added Amplify tools to the build process, it will run when you build you project. Before proceeding to the next steps, build (⌘B) the project to ensure there is no compilation error.
You are ready to start building with Amplify! 🎉